
From Egg to Chick- 05.02.12
 The latest dose of natural inspiration from our resident zoologist and London-based editor, Justine Aw.
Incubating your own eggs is something a lot of kids get to do in school, but something I’ve never actually done myself, so I was very excited to get the chance to incubate our own little brood! It was a fantastic birthday-present of sorts with a borrowed incubator and permanent home in the country all lined up.
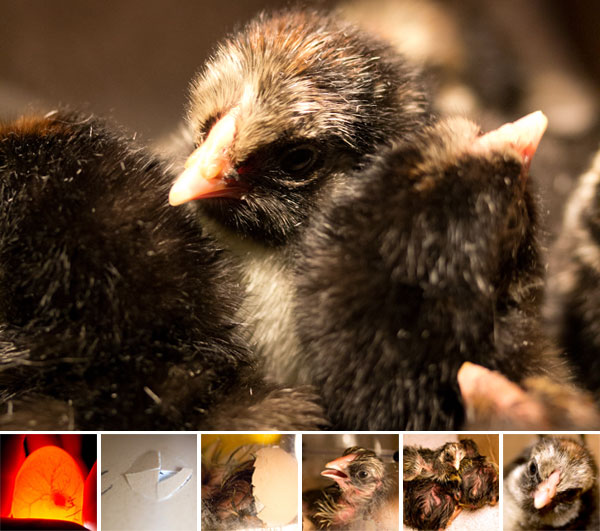
I’ve always been fascinated by livestock breeds, so we’d thought a lot about what types of breeds we’d be after (those considering poultry in the UK, but confused about breeds should make a trip down to the incredible Domestic Fowl Trust). With a few favorites in mind, we were happy to find a few local breeders and picked up 6 Wyandotte hatching eggs (3 silver-laced and 3 gold-laced). We documented their 21 day journey from eggs to chick and hope you enjoy their journey as well as a live stream of the chicks as they grow over the next week or two! See it all on the next page!
Incubation was a relatively time consuming process for me. With a fairly basic incubator, we monitored and controlled humidity independently and had to turn the eggs by hand (to prevent the embryos from sticking). I decided to rotate them 5 times a day with a little DIY egg wheel and worried more or less constantly for the full 21 days!
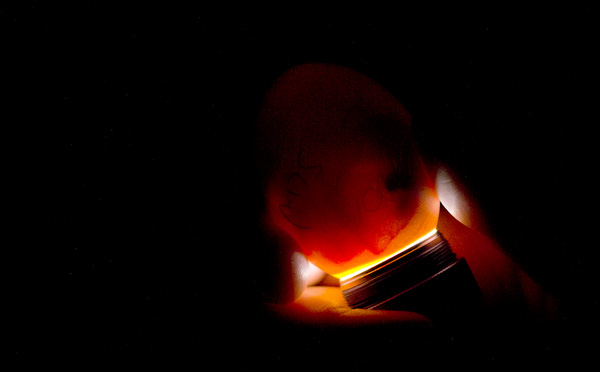
One of the biggest highlights of our home incubation was being able to watch the development of the chicks within the egg through candling with a flashlight. We candled throughout the incubation, starting at 5 days and checking the whole brood at 5, 9 and 14 days and taking a little peek at one egg a few times in between.

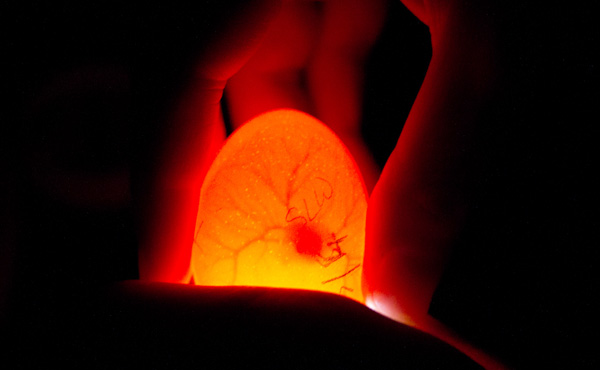
I was extremely nervous about our first candling, but the results at day 5 were incredible, showing a spidery network of veins and a little dark patch that is the beginning of a chicken! Some people do candle earlier, but I wanted to candle at a stage where even a novice like me could be a bit more certain about interpreting the results. To our pleasant surprise, all 6 eggs were fertilized and developing!
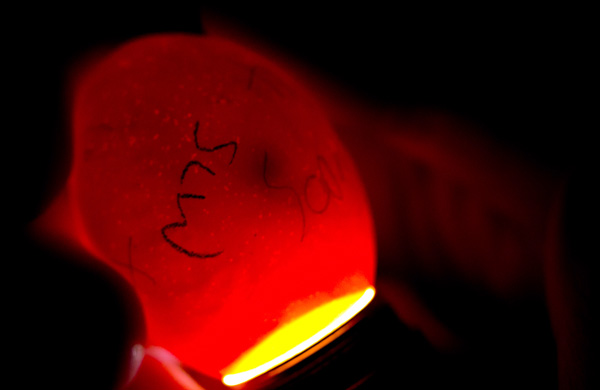
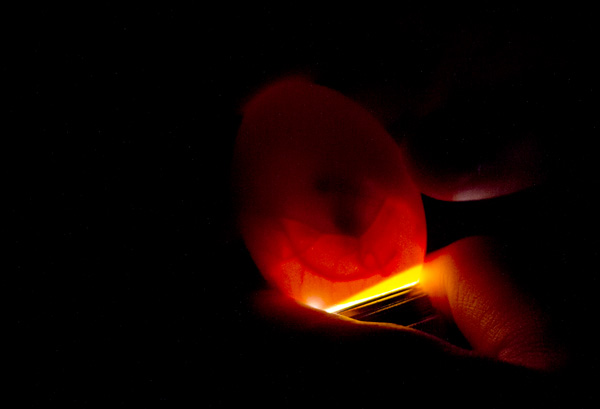
Here’s a peek at one of the eggs at day 7.
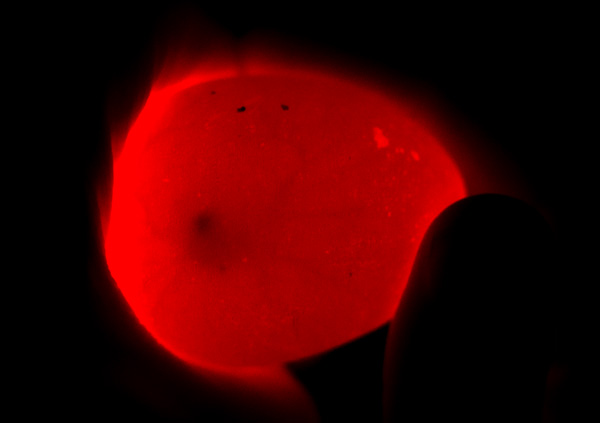
The eggs candled at day 9 of incubation show a bit of movement as well.
Here are the eggs at day 12, starting to look like a real chick! This little guy is floating at the top of the egg with his head is on the right side and tiny little feet kicking around on the left side.
The eggs candled at day 12 of incubation.
We did candle again, but as the chicks grow, it’s hard to see anything in the eggs aside from a big dark blotch. The key was monitoring the size of the air cell at the big end of the egg. If the relative humidity is too low, the air cell doesn’t achieve the right size and when the chick pips (breaks into the air cell prior to hatching) it may drown. On the otherhand, if the relative humidity is too low, the membranes toughen and make it really hard for the chick to hatch! One of so many things to worry about!
But despite many sleepless and my constant reminder that we shouldn’t count our chickens before they’ve hatched, they proceeded right on schedule. At the end of day 19, we candled the eggs through the incubator wall and saw a few peeps had pipped internally and could hear them start to cheep from within. And by the next morning, the first cracks were beginning to appear (cue an entirely renewed worry!)
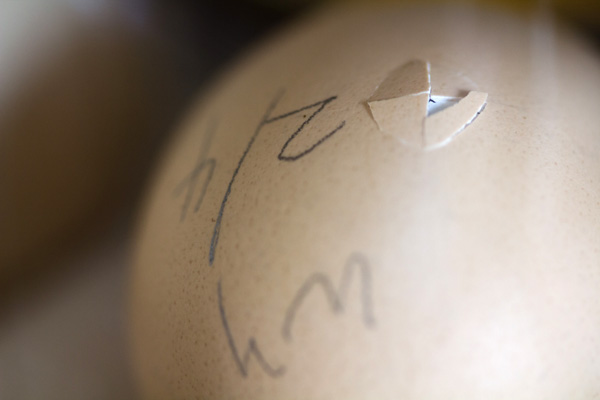
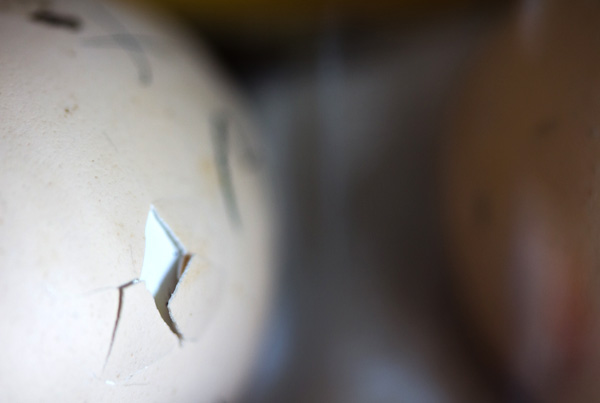
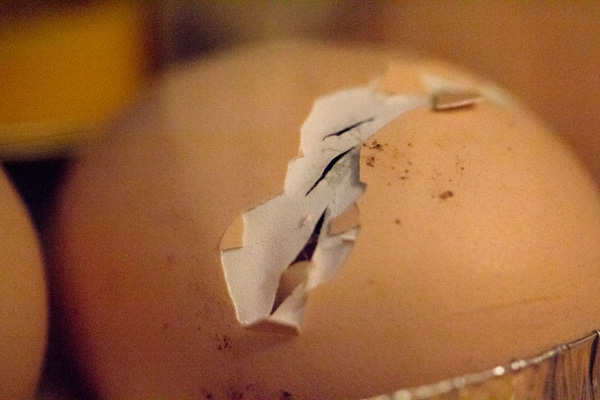
But worries were unfounded. The chicks worked in bursts, but unzipped their eggs and burst out with surprising strength and vigor and proceeded to run around the incubator in an energetic, but ungainly fashion, all while cheeping at the top of their lungs.
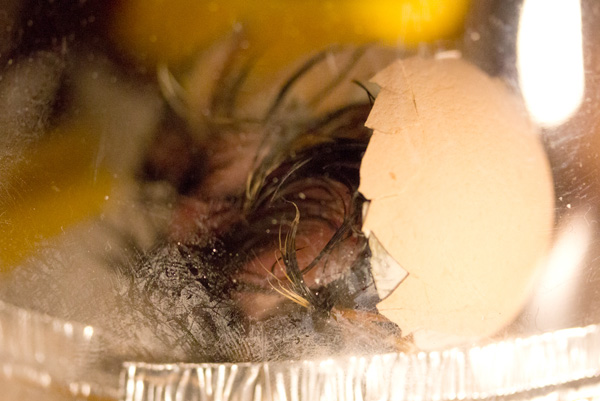
In the shell, they actually peck with their heads tucked under their wings. It sounds a bit bizarre and looks even stranger when you see them putting their back into pushing. The first bit that pops out are those wings and only after they’re through do you see a little head and that little beak (armed with the all important egg tooth) curled underneath.
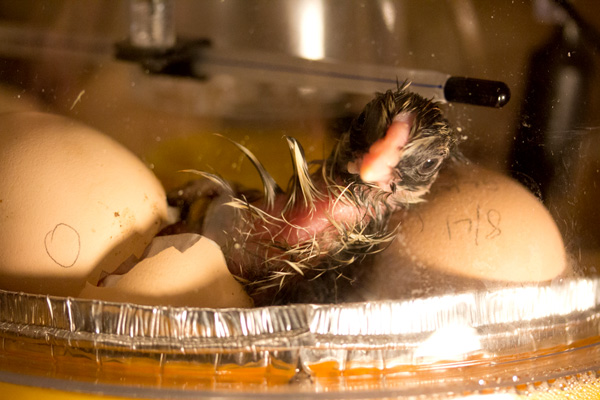
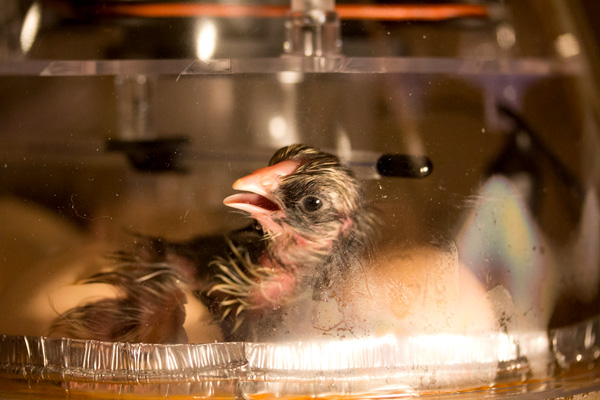

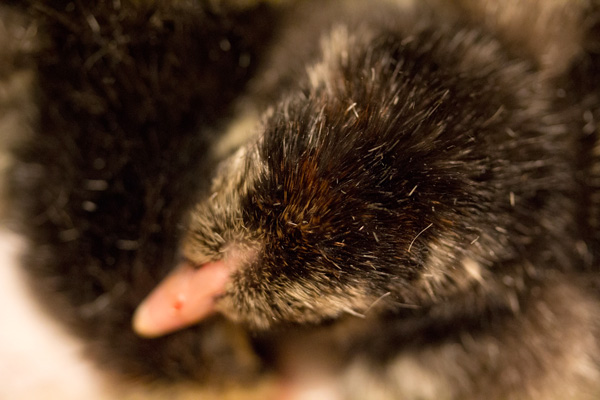
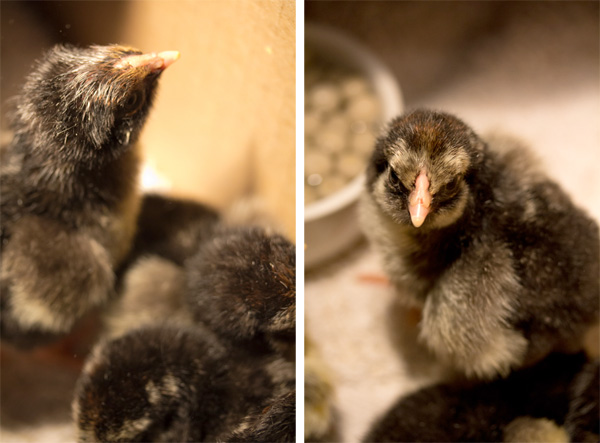
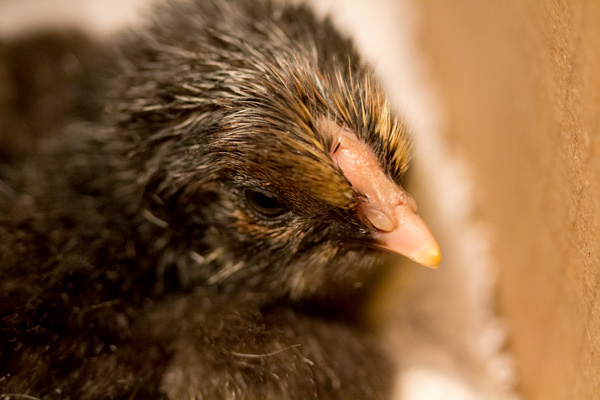
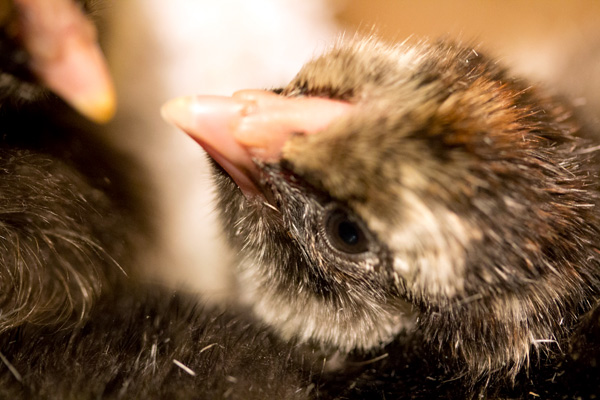
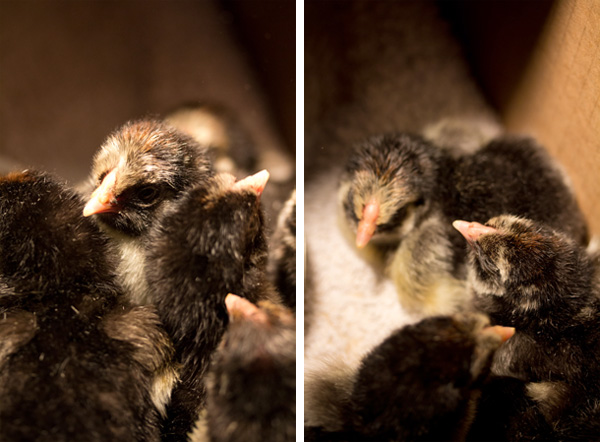
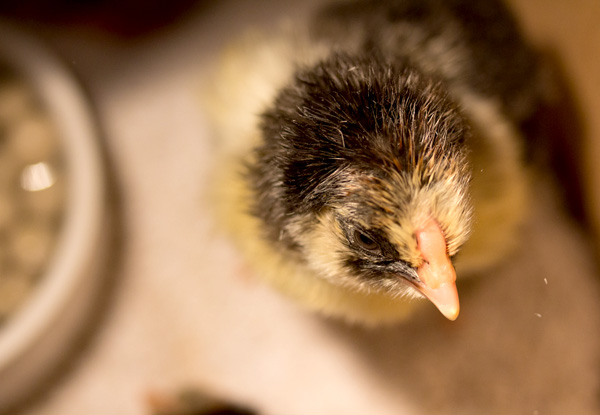
A few hours later and the chicks are drying off and fluffing up nicely and their individual markings are starting to show through! Despite all looking the same at first, we can just about tell all 6 apart, but we don’t know what sex any of the little ones are yet.

And for the next week or two we’ll be streaming the little fluffies live most of the day! So here’s what they’re up to right now:
If you can’t see the live stream above, try here.


omg sooooo cute! Thanks for sharing the stream!
----- Monica 02.05.12 15:10