
Unboxing: Formlabs Form 1+- 08.05.14
 I’ve been curious to see a Formlabs desktop stereolithographic 3D printer in action since they blew up on Kickstarter back in 2012. Since that time they have now launched the second iteration, The Formlabs Form 1+, and i’ve been learning far more from Shawn with our NOTlabs experiments and projects about the trials and tribulations of consumer desktop 3D Printing - so it has been quite a treat to spend the last few weeks experimenting with the new Formlabs Form 1+!
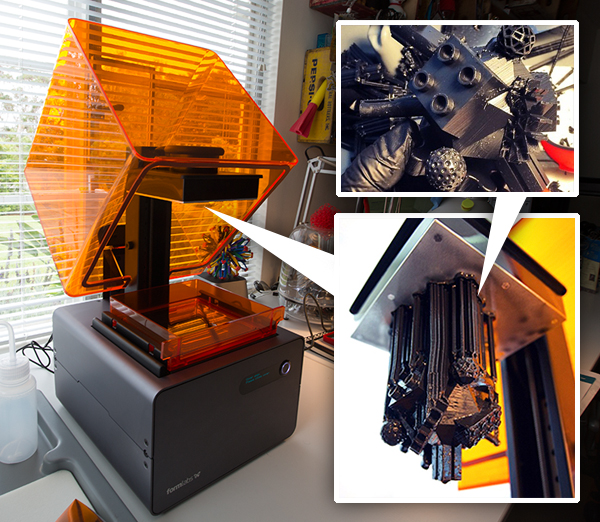
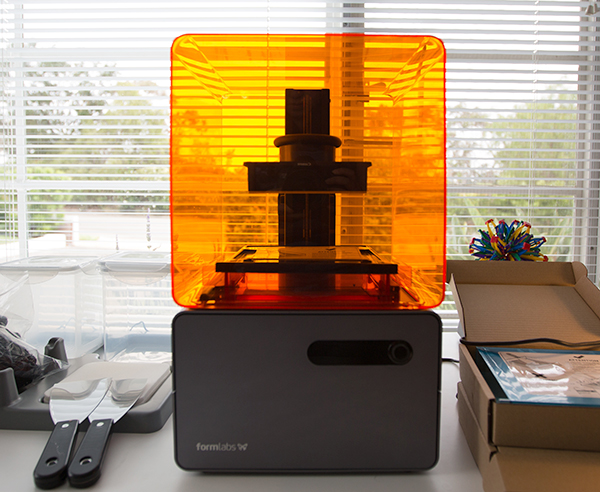
Physically, the design of the Formlabs 3D printer is a stunning iconic object that you can’t help but be drawn in any studio. It’s a piece of art! That glowing orange acrylic cube, that opens and closes so nicely (I particularly love how precisely tiny the gap is between the cover and the build plate when you open it!) and there’s a single button on the front - all the details are so well thought out! And the quality of the prints - wow - the resin layers can get down to 25 microns now! So thin, they are nearly undetectably smooth. The prints are lovely!
Before we jump into the unboxing and look at the printing process and outcome - I just want to address a few key things i’ve learned as i’ve been playing with the consumer 3D printers and the questions that keep coming up. Yes things always go wrong, prints will fail, tweaking is always needed - be it in your file, the hardware, some tiny overlooked detail (from the tape you put down to the resin you poured in) - there is ALWAYS something. I’ve accepted that as just part of it at this stage in the maturity of consumer 3D Printers. But they are getting there! Every new machine we play with impresses me more and more - but for something to get plugged in and have everything consistently churn out perfection - I know that patience and learning with each print is key. We’ve played with a slew of printers for various projects - from Objets to Makerbots, Z Corp to Stratasys, and more… so just know that going into this review, i’m approaching it with patience and curiosity!
That being said - to the unboxing and test prints on the next page!
It’s here!
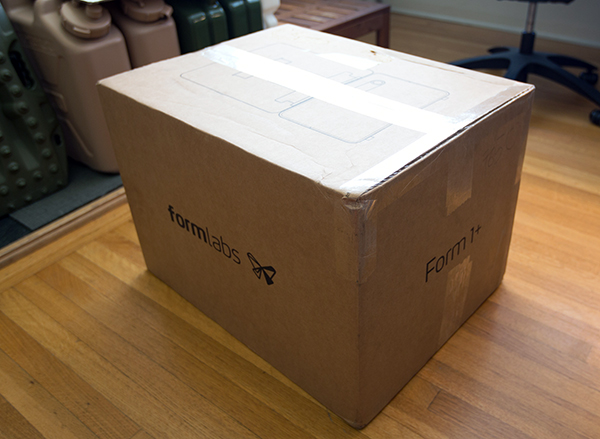
The REUSABLE packaging is fascinating! Instead of tons of foam, etc. to buffer it - the machine is suspended between two cardboard frames holding a hefty, stretchy plastic sheet.
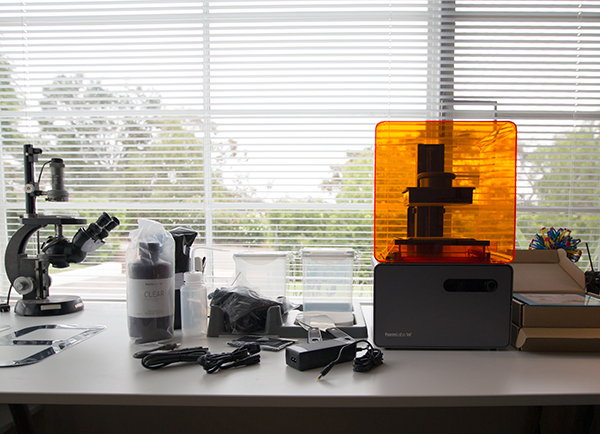
There’s also a box with all of the resins and finishing kit…

Isn’t it beautiful?
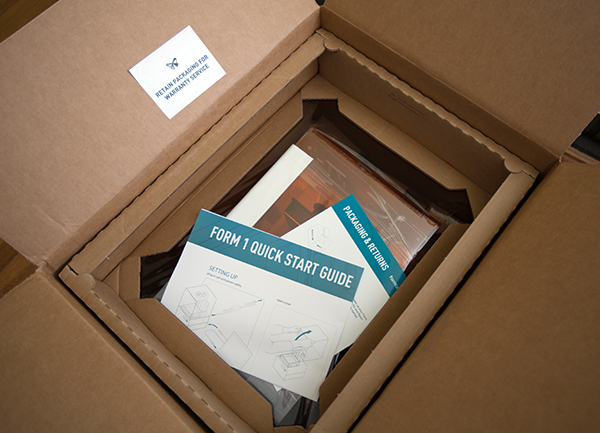
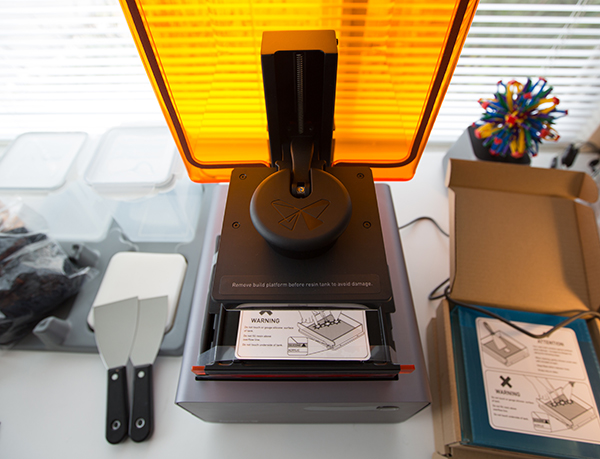
A first peek inside…
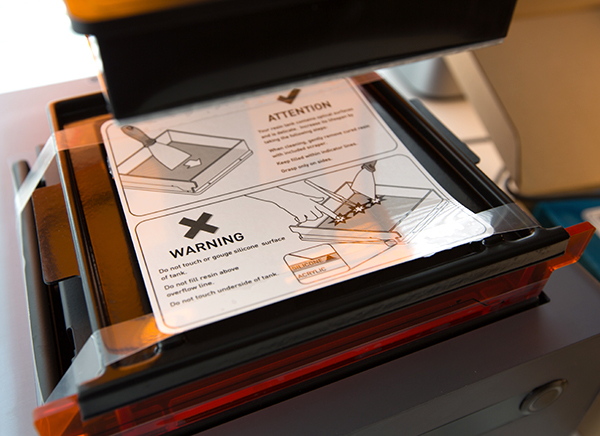
The resin tray has a layer of silicone inside you have to be careful not to scrape… and an optical base you need to take care not to scratch or fingerprint.
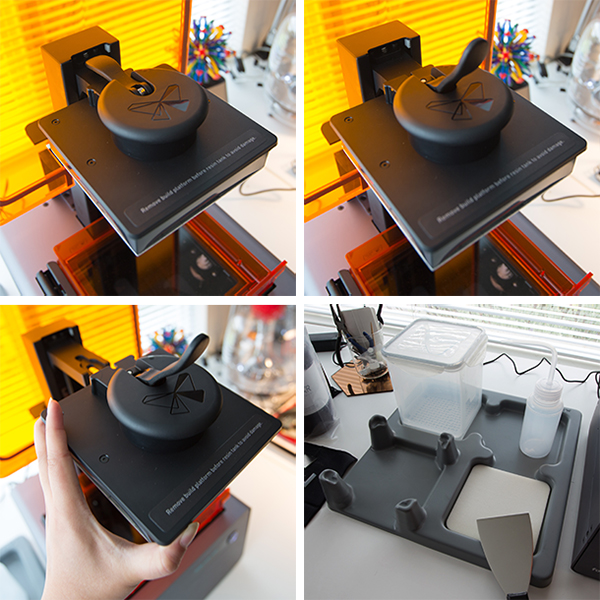
Look at that clearance when you open it!
Flip the lever to remove the build plate - and you can see where it fits perfectly in the Finishing Station when you are ready to remove/clean prints.
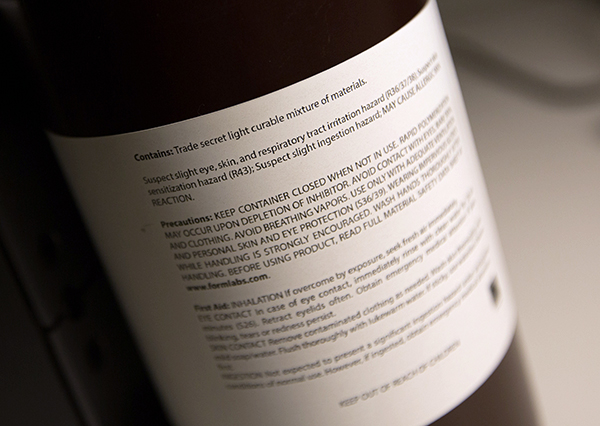
Contains: Trade secret light curable mixture of materials!
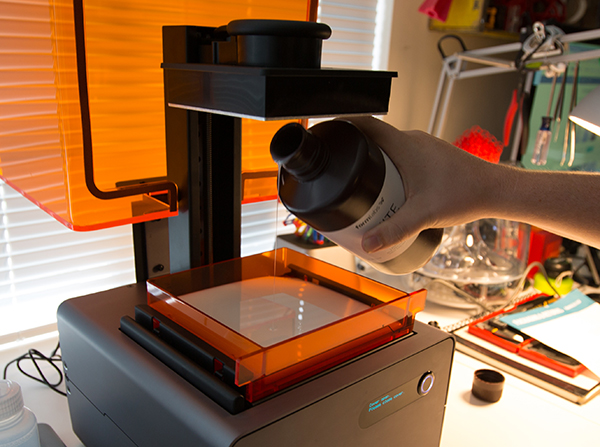
Fill the tray to the marked line with Resin!
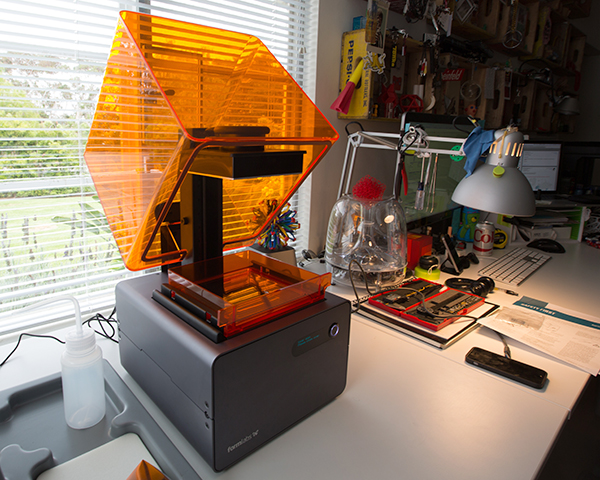
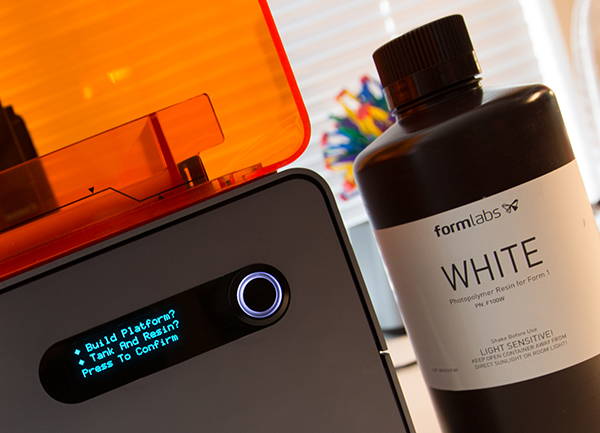
All you need is one button… everything else is taken care of in the software, and you can even unplug the USB to your computer once the file is fully loaded into the printer.
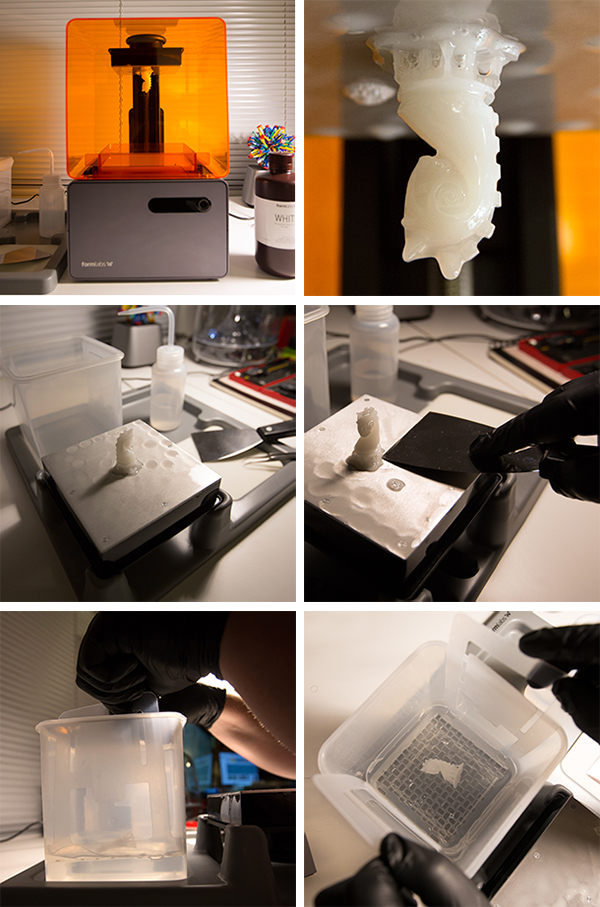
As for how it works - when printing - the lasers come from below and cure the resin one layer at a time. As the layers build, the build plate moves up until the print is complete!
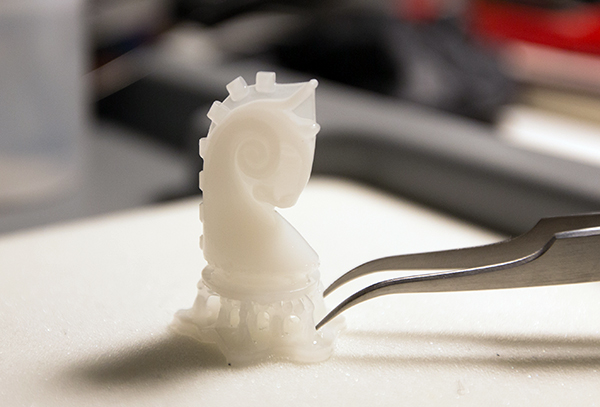
Here you can see our first completed print - a white resin knight from the Duchamp Readymake Chess Set! Printed perfectly! Once the print is completed, you move the build plate to the finishing station and carefully pry it off. Next step - soaking time in the alcohol to rinse off remaining resin and cure the rest. Cut off any support materials, then toss it back in to soak a bit more… and you’re done!
This little guy was printed at 50 microns.
It was at this point where the machine started producing a lot of failed prints - debugging all possibilities, Formlabs decided it was the printer (not us!) - and just like our situation with one of the first Makerbot 5th Gen Replicators - a replacement machine was the solution to fixing it!
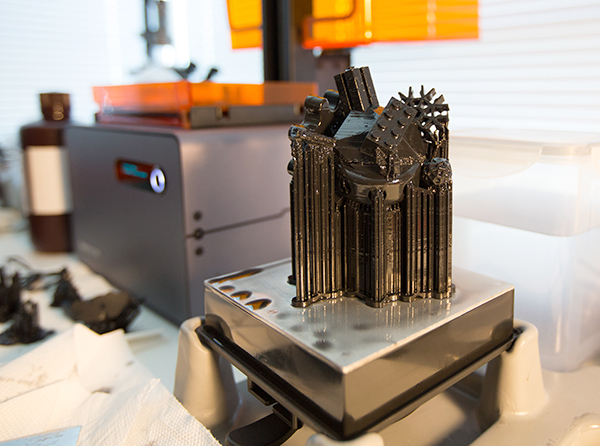
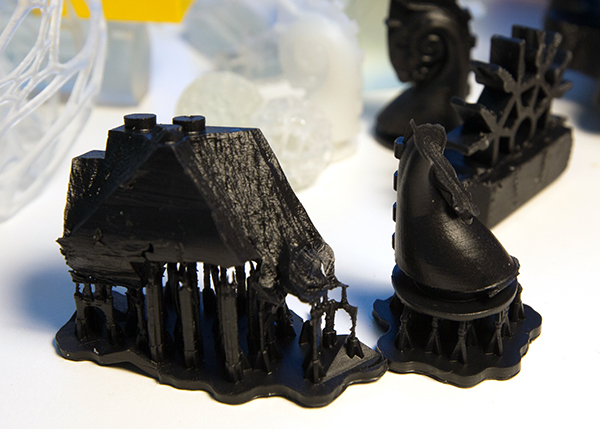
So proceeding with the new machine… we tried Shawn’s Universal Adapter Brick from his Free Universal Construction Kit in the new black resin. It took about 16 hours at 50 microns and was large enough we had to refill the resin dish part way. I was impressed that the software lets you know this ahead of time, and even schedules a pause in the print to refill it!
As you can see, there was quite a bit of support material!
It took some time to carefully snip it all off bit by bit… one thing that definitely takes some getting used to is figuring out how large the connections between support material and print are. Too small and it may not hold on well, but will break off easily. Too large and it may hold on TOO well, but also leave nubs as you try to remove them.
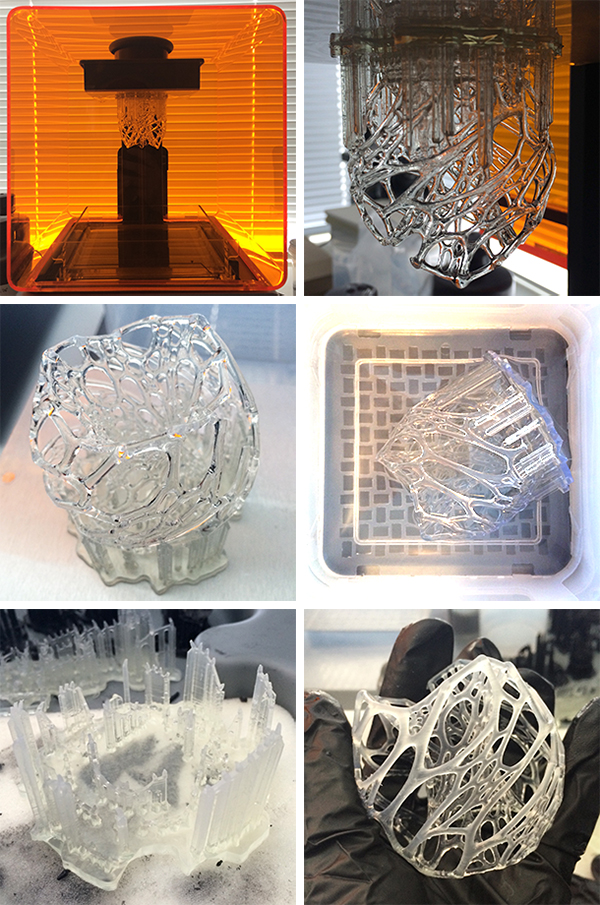
To test out clear resin at the finest 25 microns - we tried Nervous System’s Cellular Lamp. Here you can get a peek at the PreForm Software - you can do quite a bit of adjusting from auto generating and manually editing supports, rotation/scaling, previewing how it will print and more…

It printed almost perfectly - with two segments that didn’t quite make it. The clear resin turns a nice matte finish - though you can apparently polish it if you want to bring the super clear back!
Another look at packing a few prints in together - and you can scroll along the side to preview the various layers.

A peek at some of our prints!

CONCLUSION? The Formlabs Form 1+ a beautiful machine and the prints look fantastic at such a high resolution. Bottom line, it’s still a single material printer - no support materials - so you need to design accordingly for optimal prints, and with the resin, you can paint, electroplate, polish, etc. the finished prints. When a print is good - it’s impressively good!
p.s.
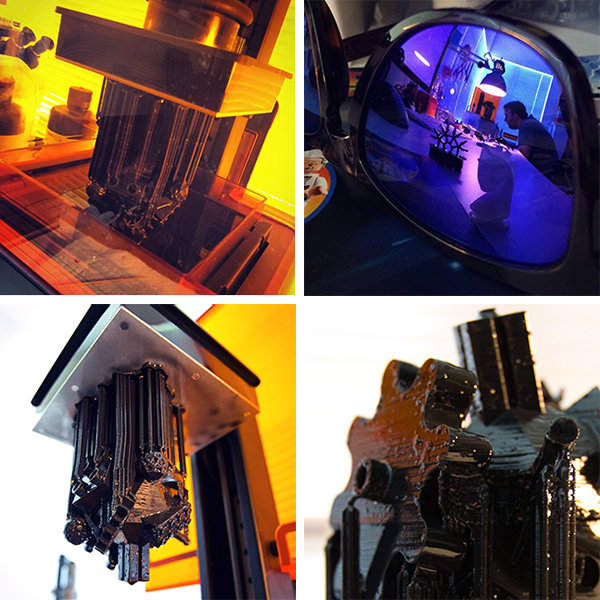
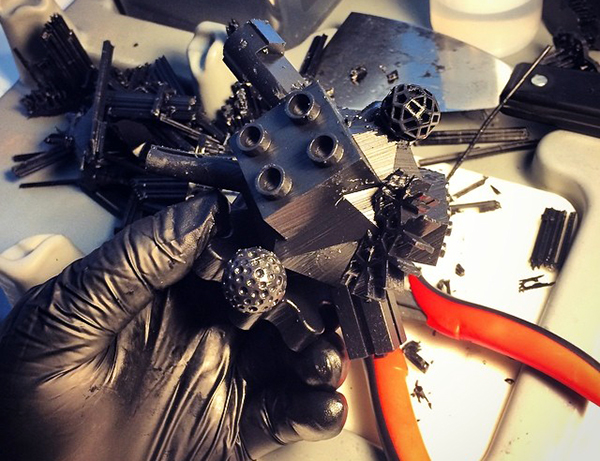
And as far as inevitable 3D Printer Fails… there’s something almost elegant and petrified about the way the Formlabs Form 1+ does it. Almost like rocky shattered shards…
 … very different from the Makerbot spaghetti tangles of PLA!


It’s more accurate but not as fast and we’ve had a terrible success rate. About 50%.
----- davea0511 18.12.15 07:17